One of the primary aims of my Magic Mirror was to combine rusticity and technology. In this article you will learn everything about the frame of the Magic Mirror, its dimensions and the concept behind it. In addition, the first photos are finally available.
Concept
Preliminary considerations
As you can see from my previous articles, I would like to use the Magic Mirror to create a small Designer piece make. The front should be made of oiled Cherry wood consist of. Behind the scenes, an insert frame made of cheaper wood holds the spy mirror, the monitor and the other electronics (in this order as seen from the front by an observer). At the end, both the monitor and the spy mirror are placed in the insert frame. The cherry wood ensures that the two elements remain securely in the frame. To ensure that the monitor can be easily replaced in the event of a defect, the cherry wood is screwed onto the insert frame and not glued.
Monitor
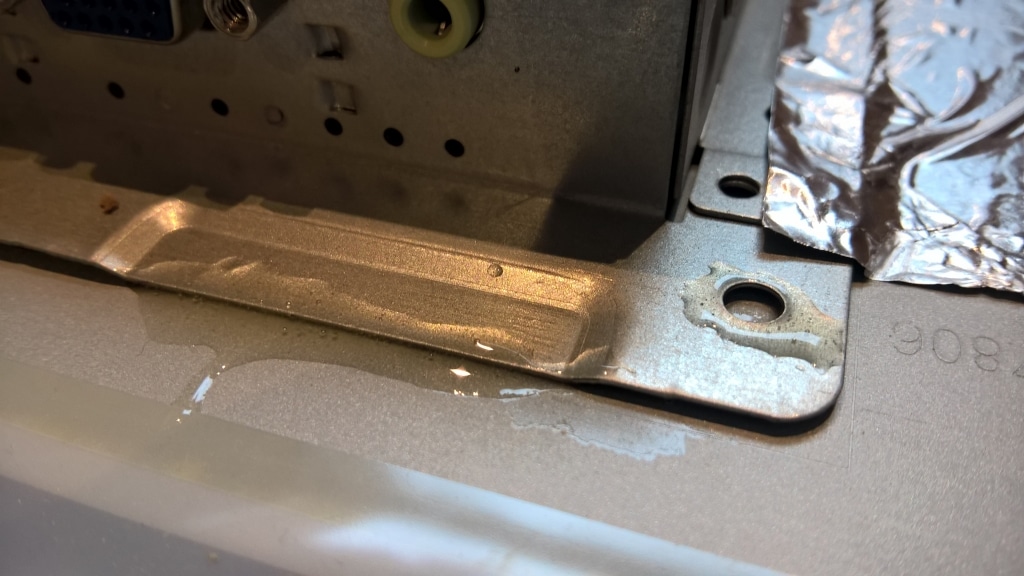
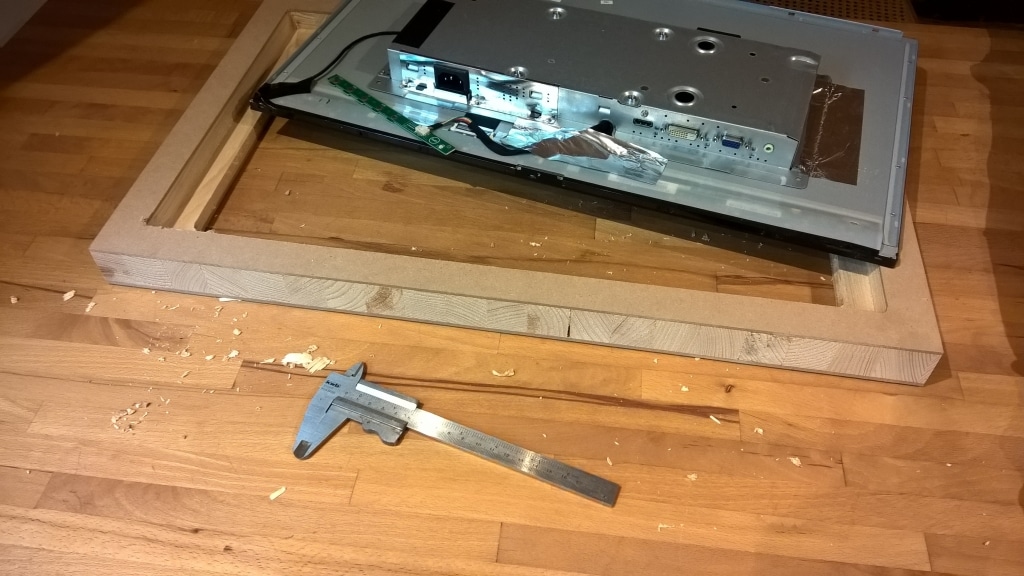
The monitor I used can be "skinned" relatively easily: The back (made of plastic) can be completely removed; the stand is just as easy to dismantle. I was surprised that the cover of the display control unit (in the center of the monitor on the back) was only attached with tape. With the help of two-component adhesive, I have now fixed it for all eternity. Unpacking the monitor is important at this point so that it can be placed in the insert frame in a later step (see below).
Procedure
Preliminary work
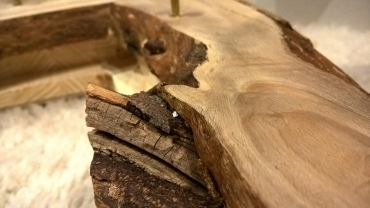
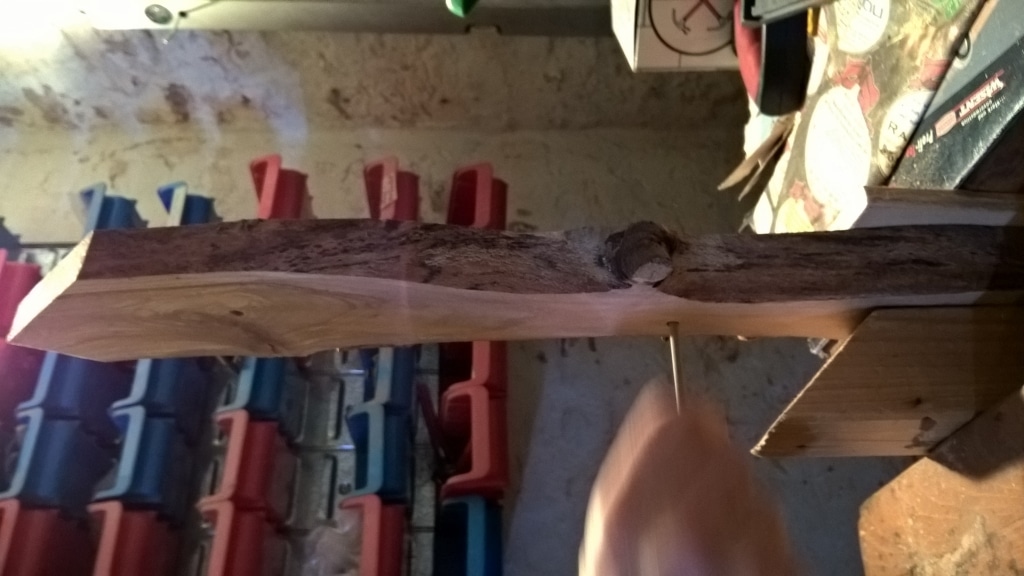
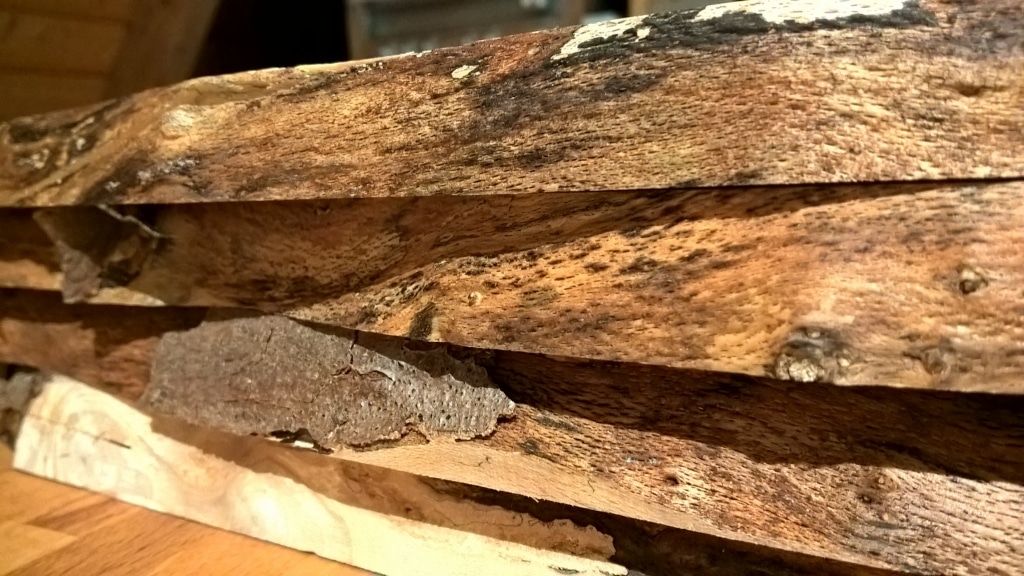
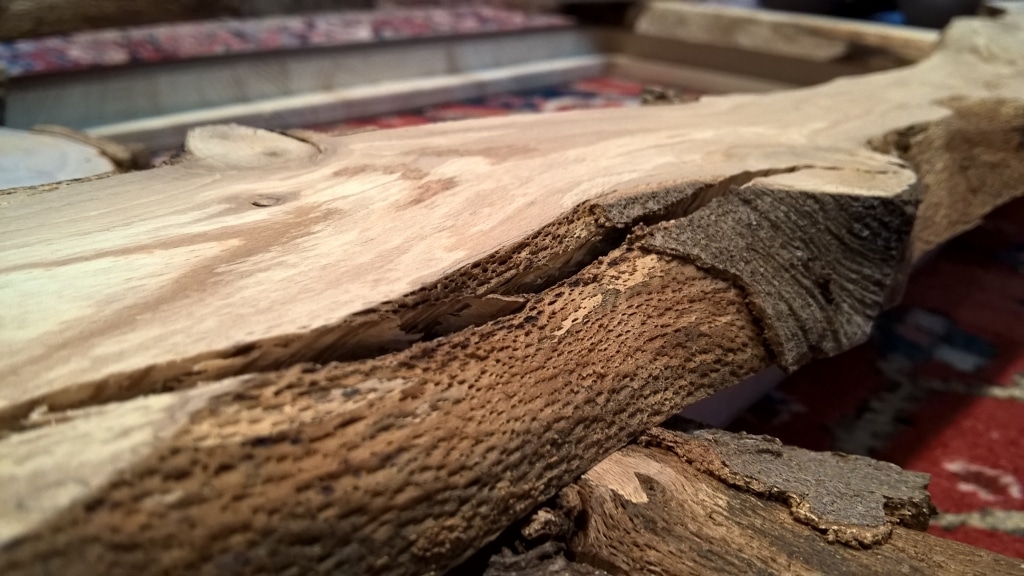
The wood had to be purchased before it could be worked. Fortunately, we had an old cherry tree trunk in the garden that we wanted to use for the front part of the frame. The cherry trunk was (naturally) not particularly straight. We didn't have a suitable saw to cut the cherry tree trunk lengthwise into slices. Even large DIY stores were not in a position to saw cleanly through the tree trunk.
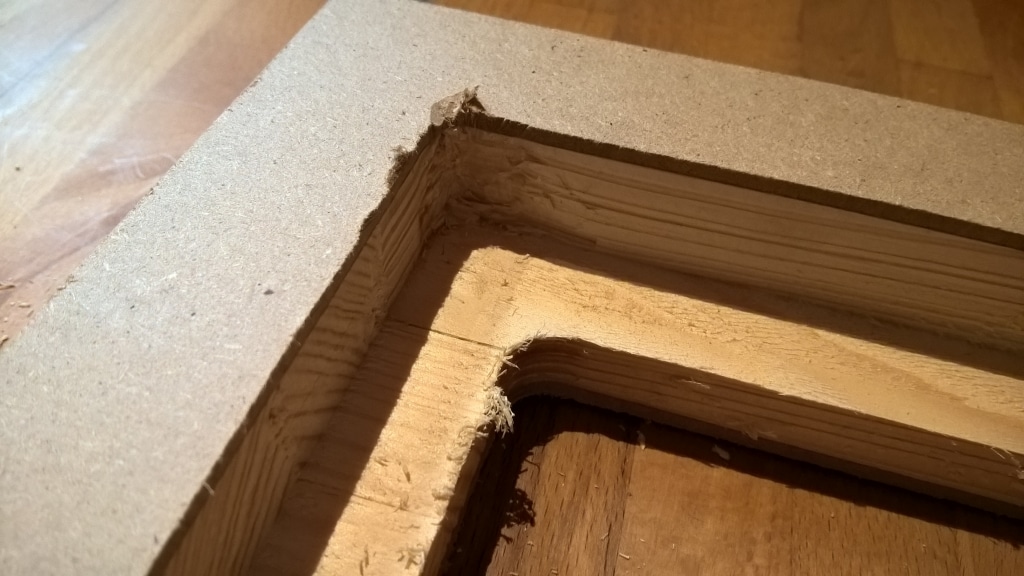
The salvation for me was the (now defunct) carpentry shop Helmut Boysen Furniture in Hamburg (Wiedenthaler Bogen 25, 21147 Hamburg). Mr. Boysen's joinery cut the tree trunk into planks for me - with absolutely brilliant quality and at a more than fair price. I can highly recommend this joinery. Mr. Boysen also used a milling machine to make the insert frame for me from cheap(er) wood, in which the monitor and the spy mirror are to be placed. Pictures can be found in the gallery below.
If you are not in Hamburg and encounter the same or a similar problem, I recommend that you visit your trusted carpenter. They have the necessary expertise and equipment to carry out such work.
Sawing and drilling
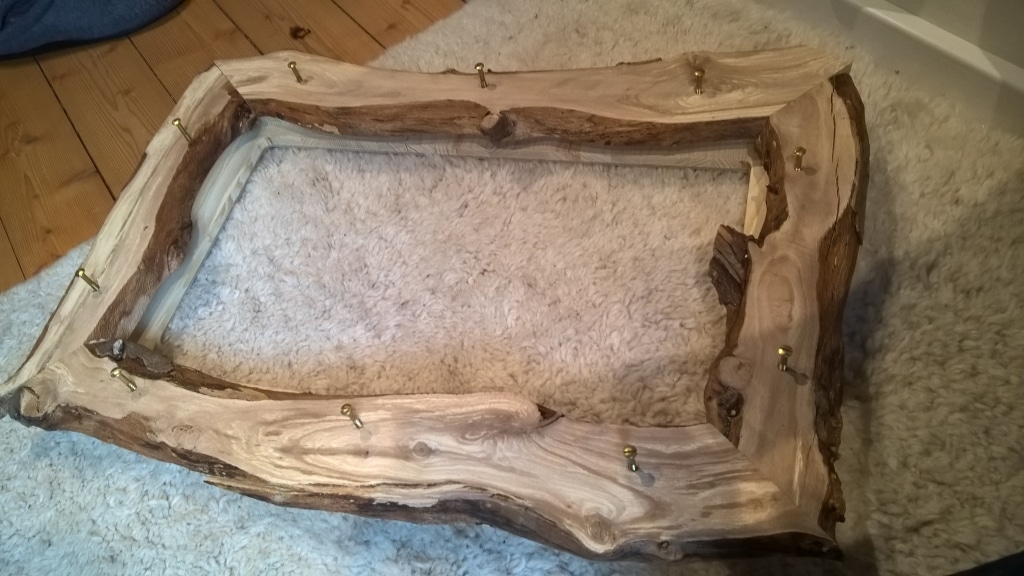
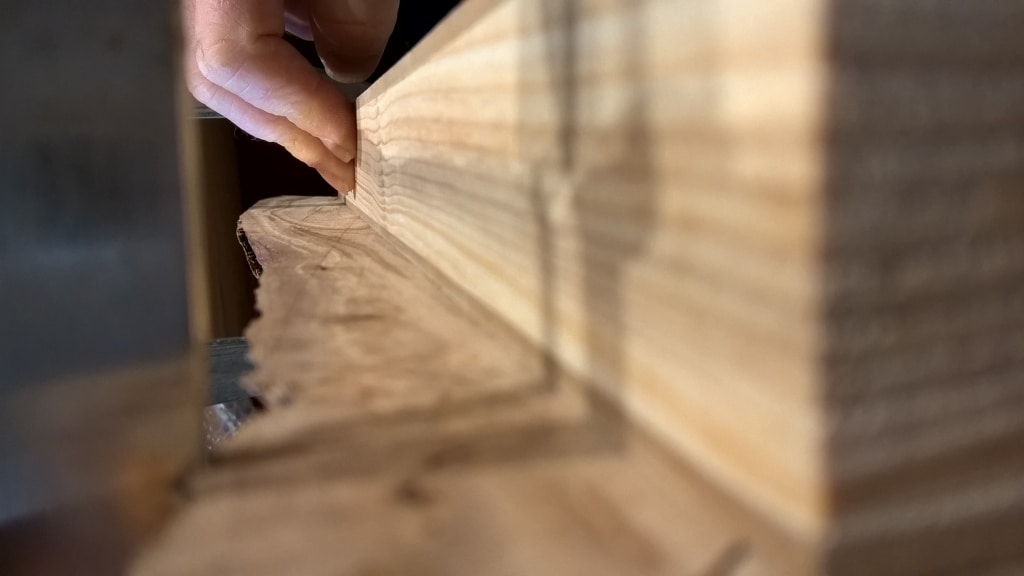
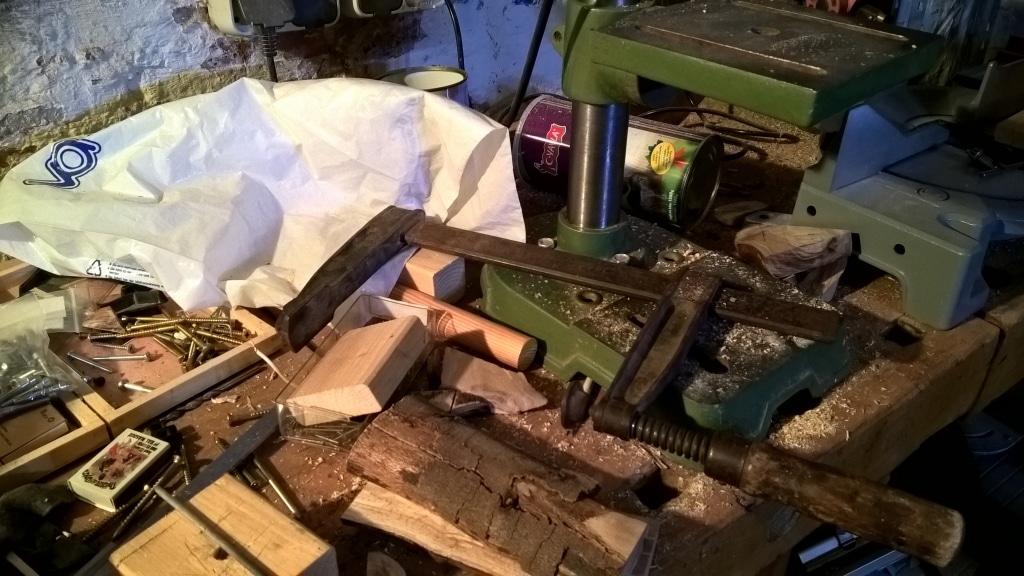
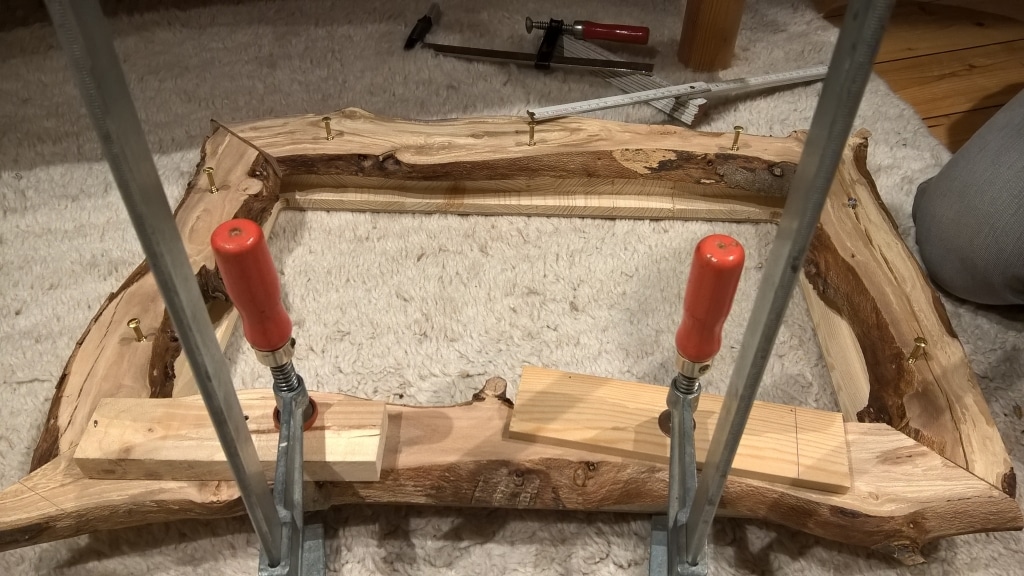
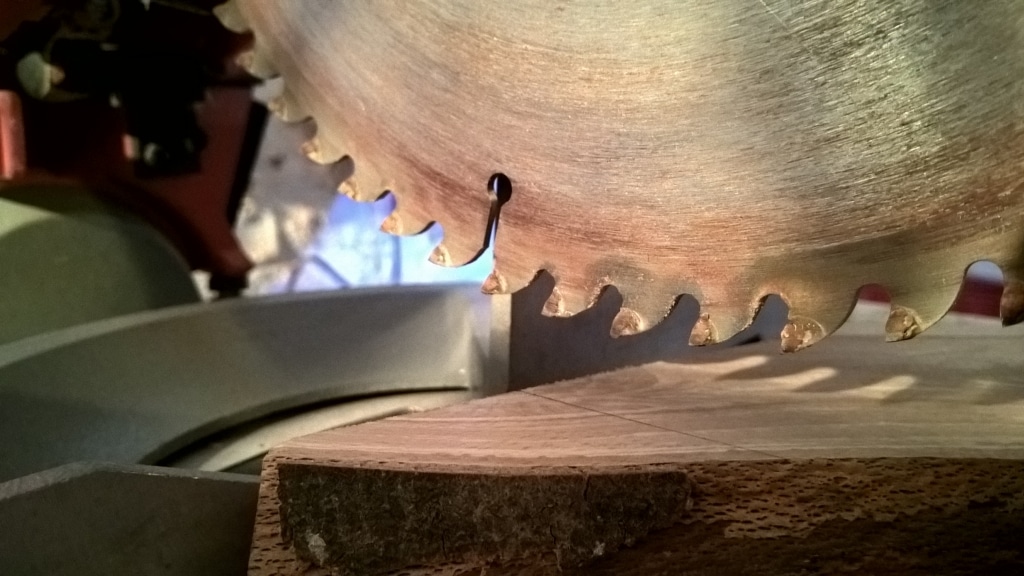
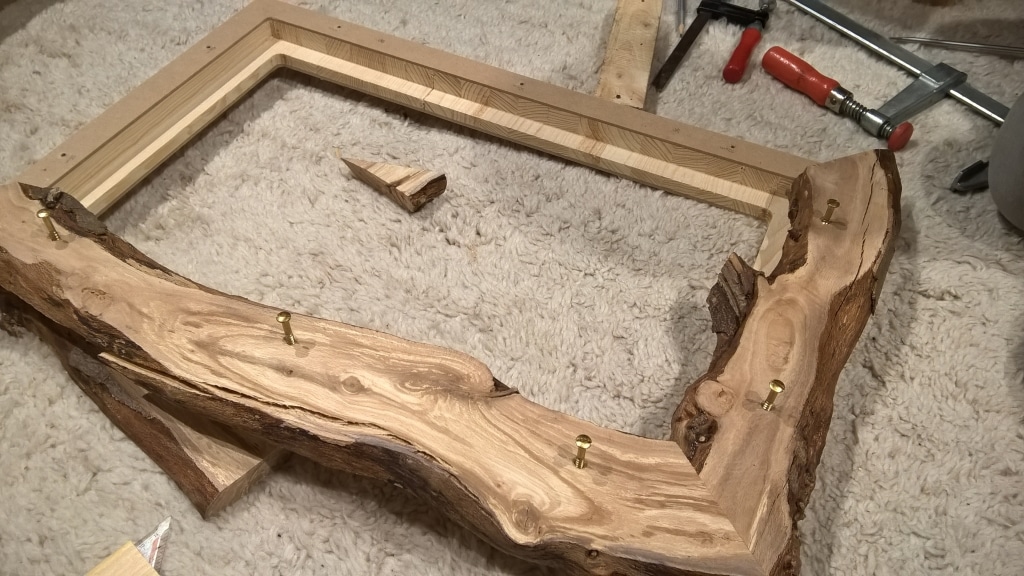
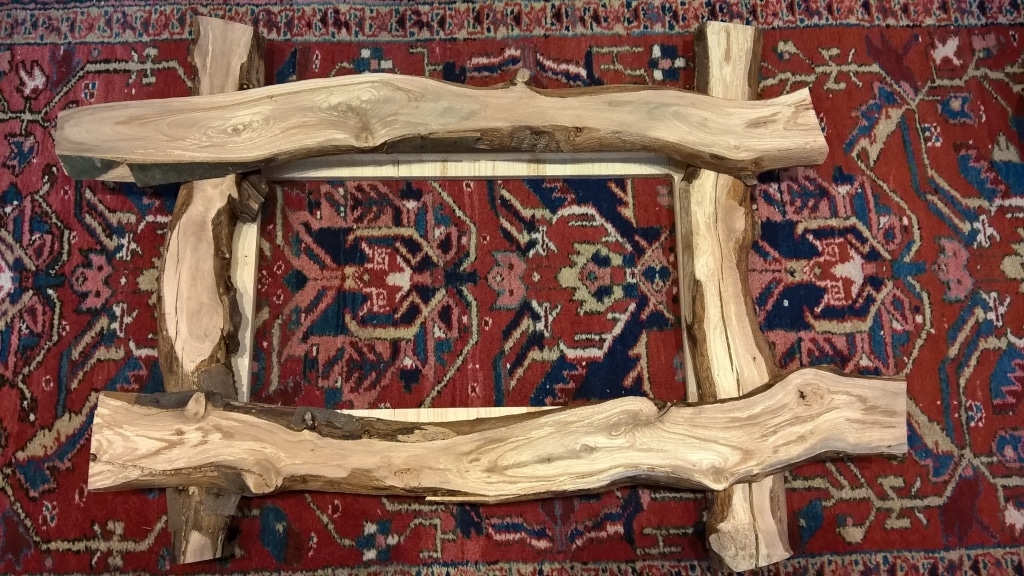
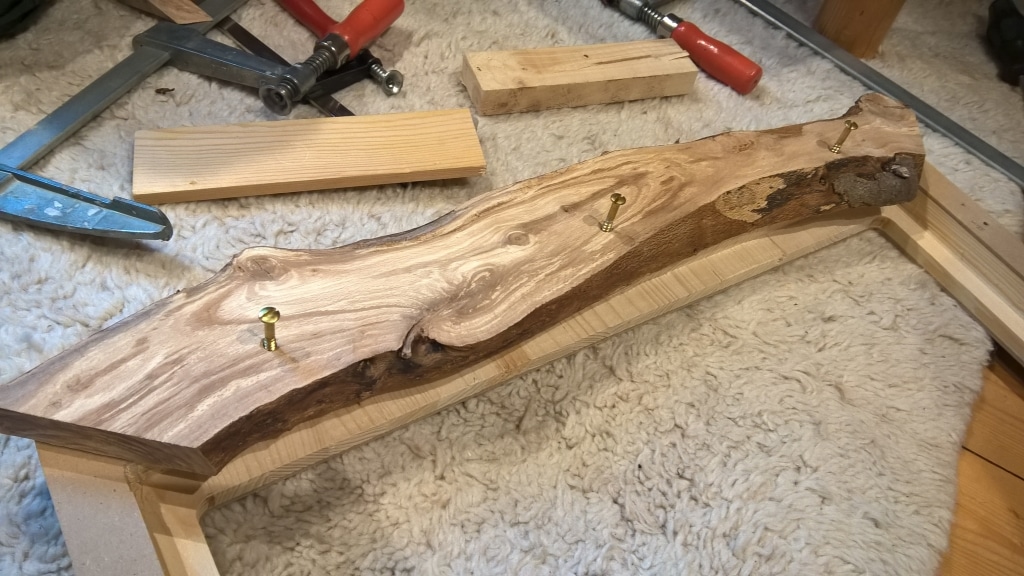
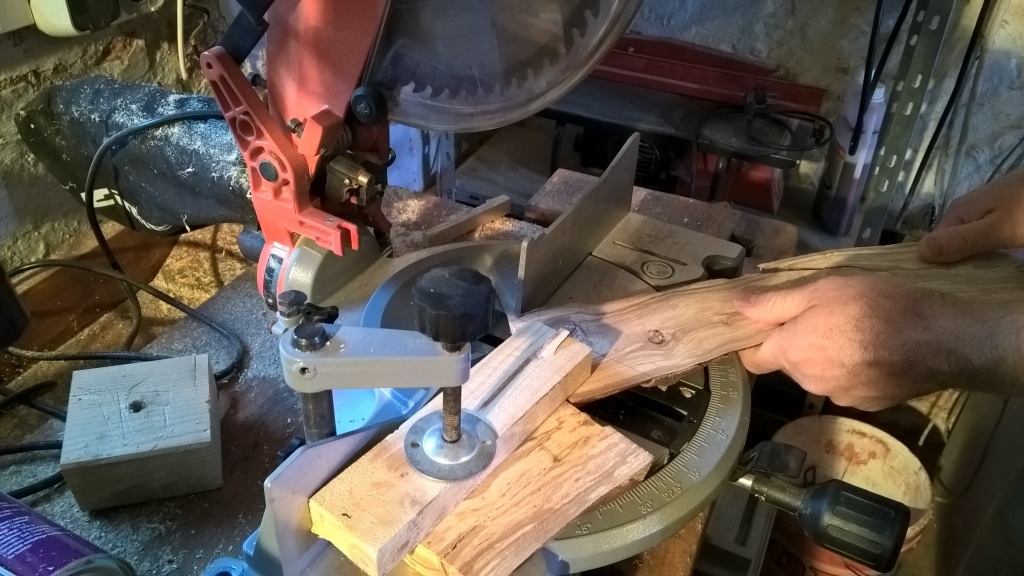
So I took home four boards from the cherry tree trunk as well as the insert frame from the milling machine. With the help of a circular saw, I was now able to saw off the cherry wood boards at the corners at home according to my wishes so that they could be arranged in a rectangle to hold the mirror in the frame. This turned out to be longer and more complicated than expected, as there are no straight lines to guide me.
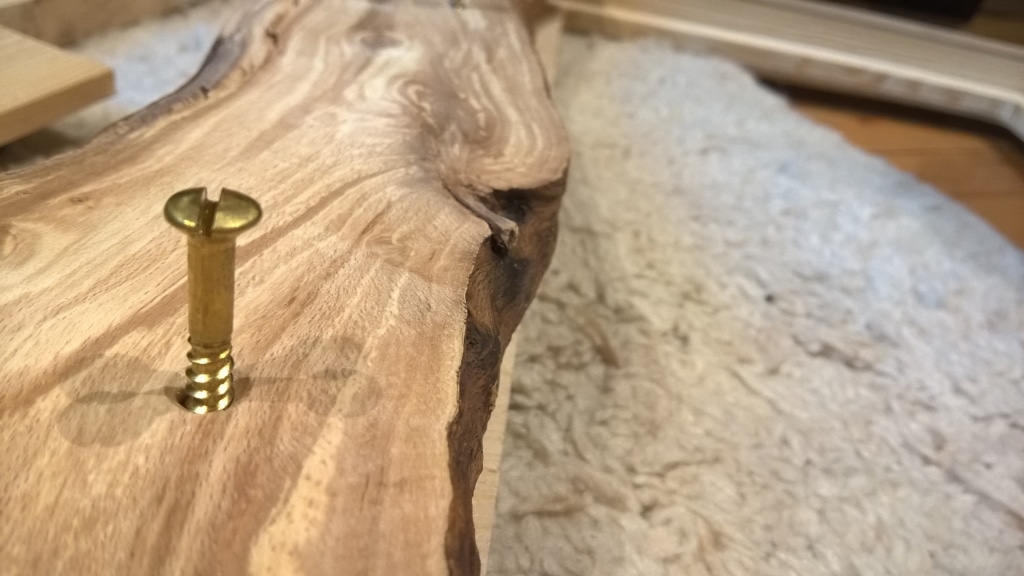
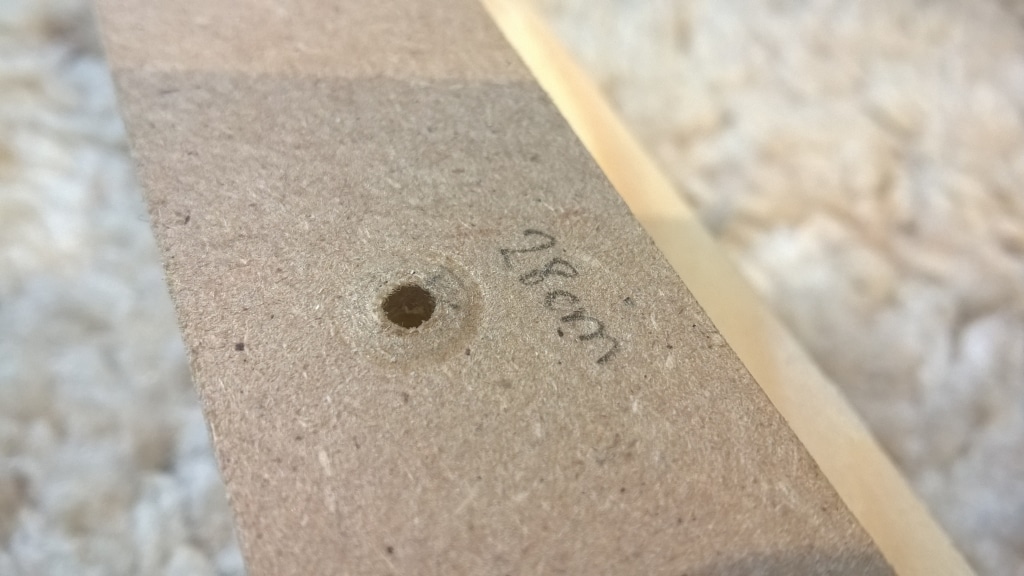
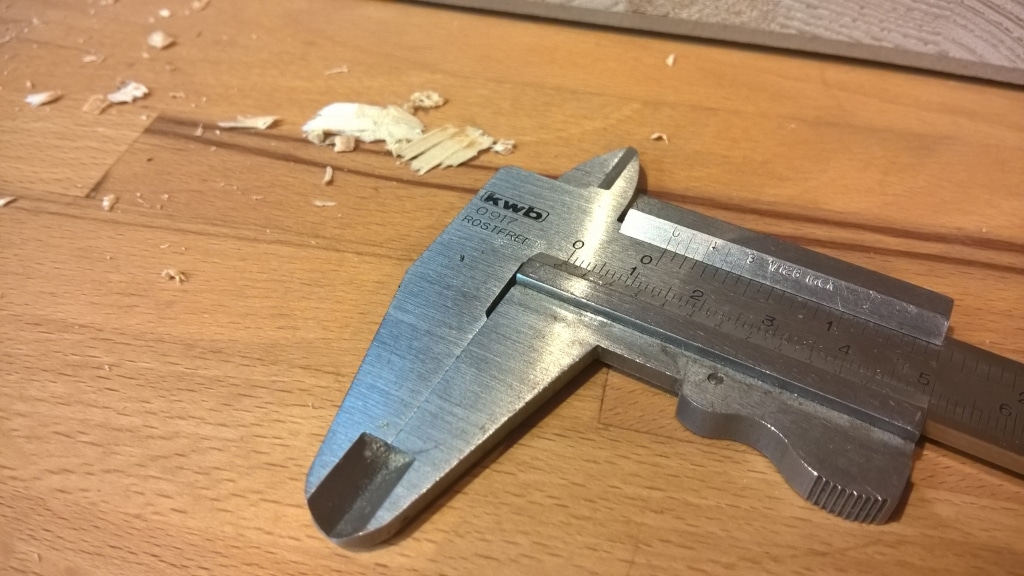
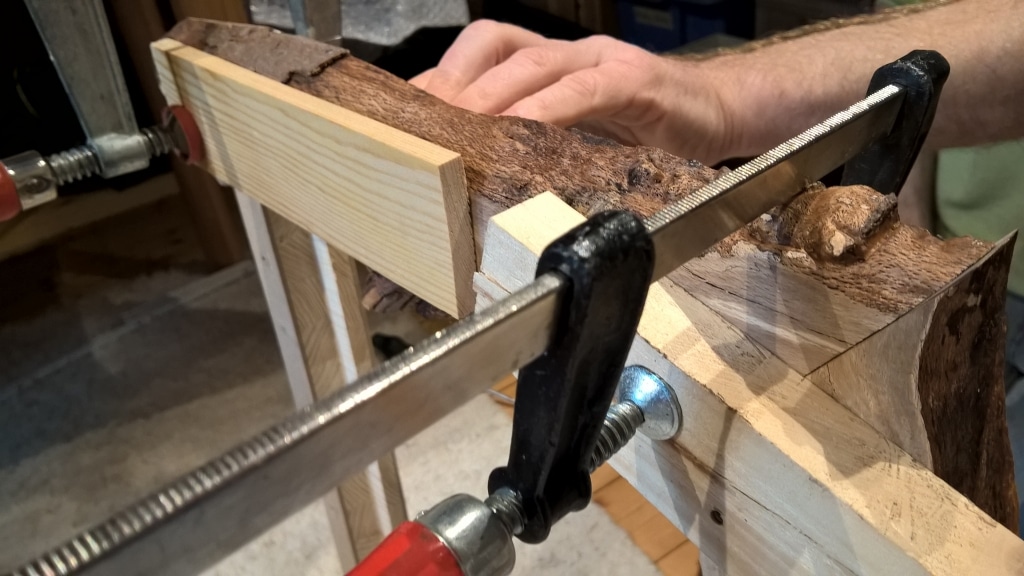
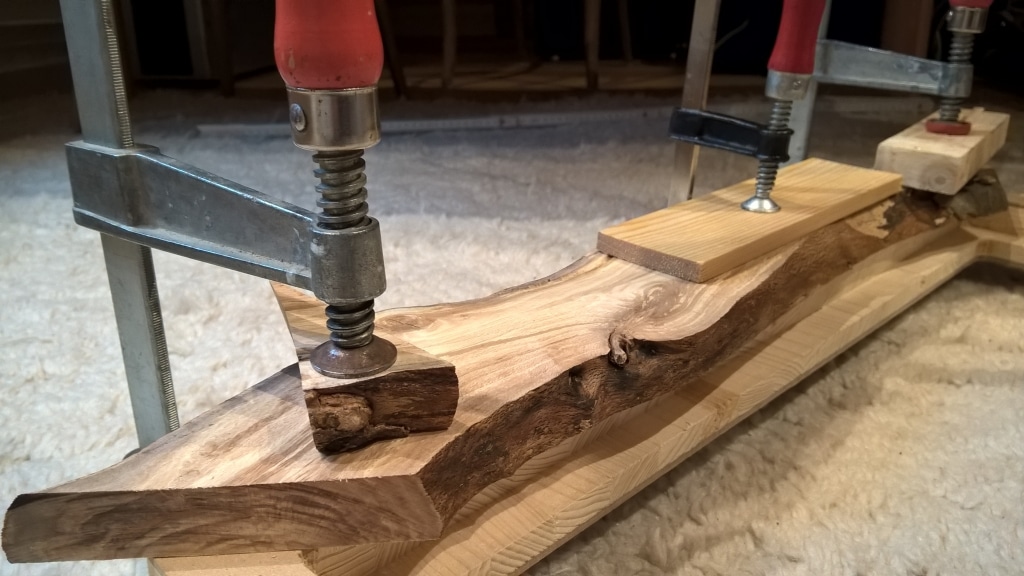
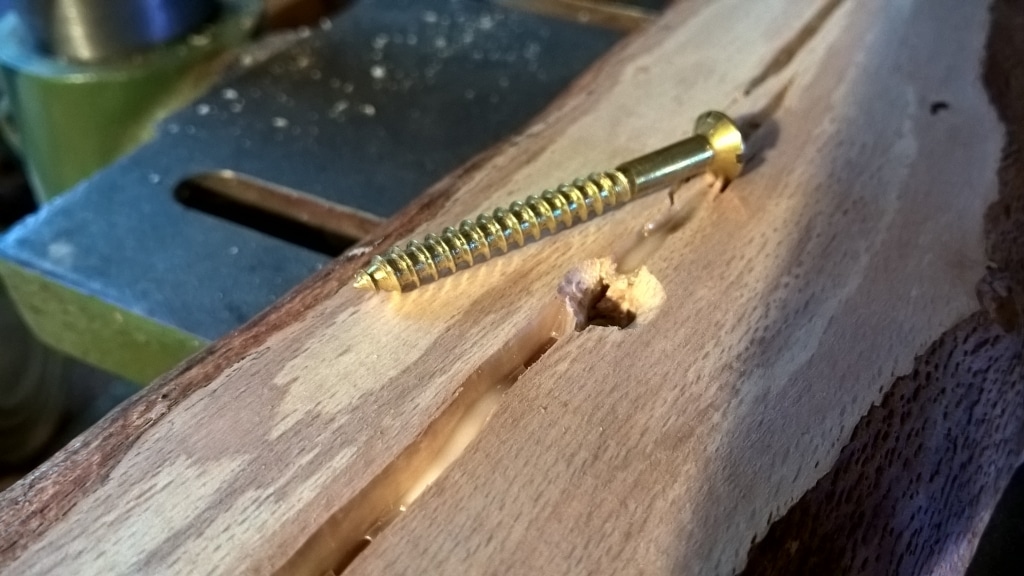
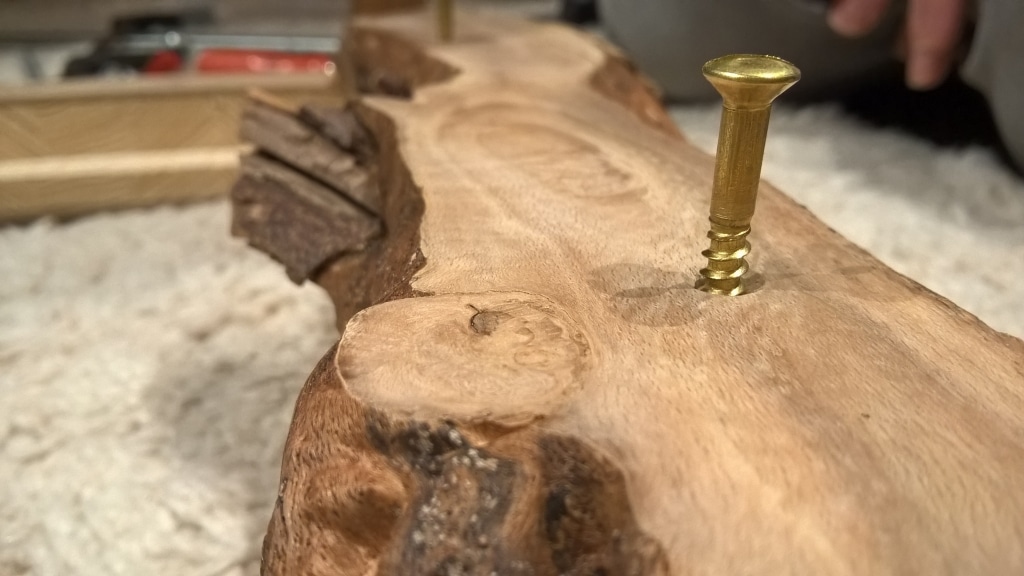
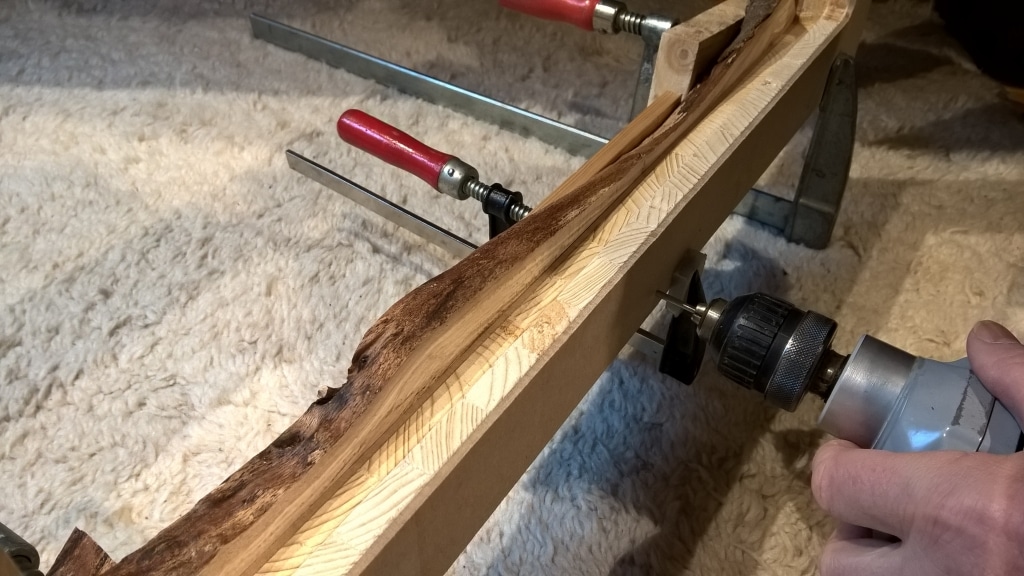
In order to be able to screw the four cherry wood boards onto the insert frame behind them, holes and screws were needed. I decided to use three screws each for the side cherry wood boards. The shorter sides are fixed with two screws. First, I marked the distances for the holes on the insert frame and then pre-drilled them so that the golden screws I had chosen could grip here and not split the wood. I was then able to make markings on the cherry wood boards through the holes in the insert frame (by lightly drilling into the cherry wood through the holes in the insert frame) so that holes could also be drilled in these. However, these should have the same diameter as the screw so that the screws do not damage the valuable cherry wood. Using a countersunk head, I machined the cherry wood so that the screw head sinks into it slightly and no longer protrudes.
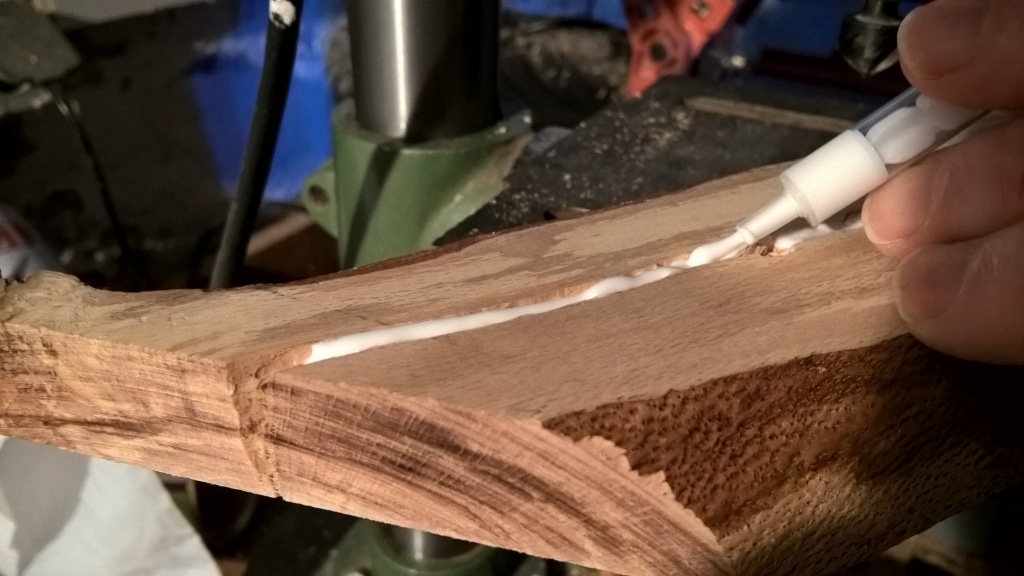
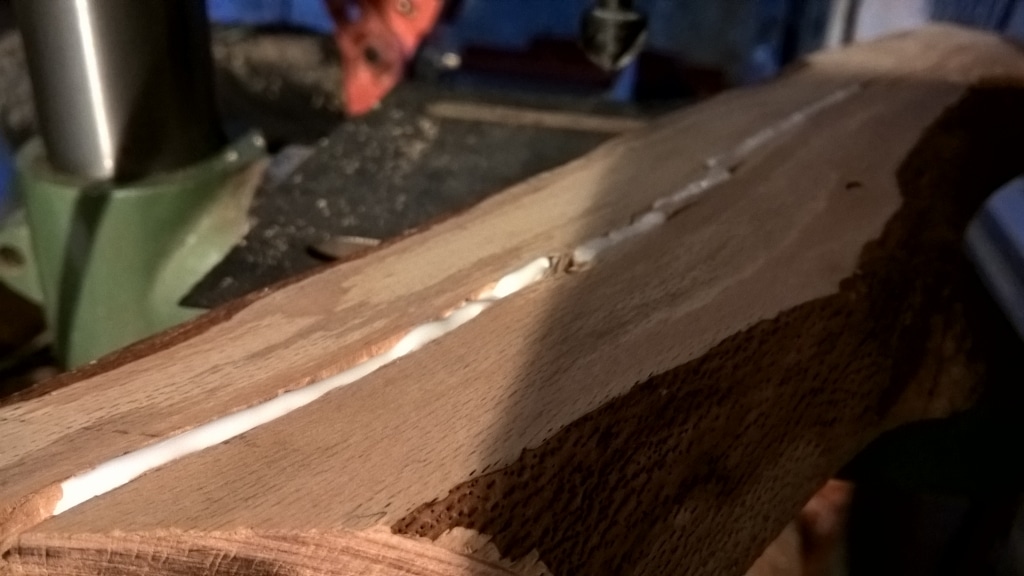
There is also a not insignificant crack in a cherry wood board. I filled this with wood glue. This dried overnight and I only completed the holes the next day so as not to stress the wood unnecessarily and risk breakage.
Due to my ambition to build a perfect Magic Mirror, the processing of the cherry wood leaves has already taken a day.
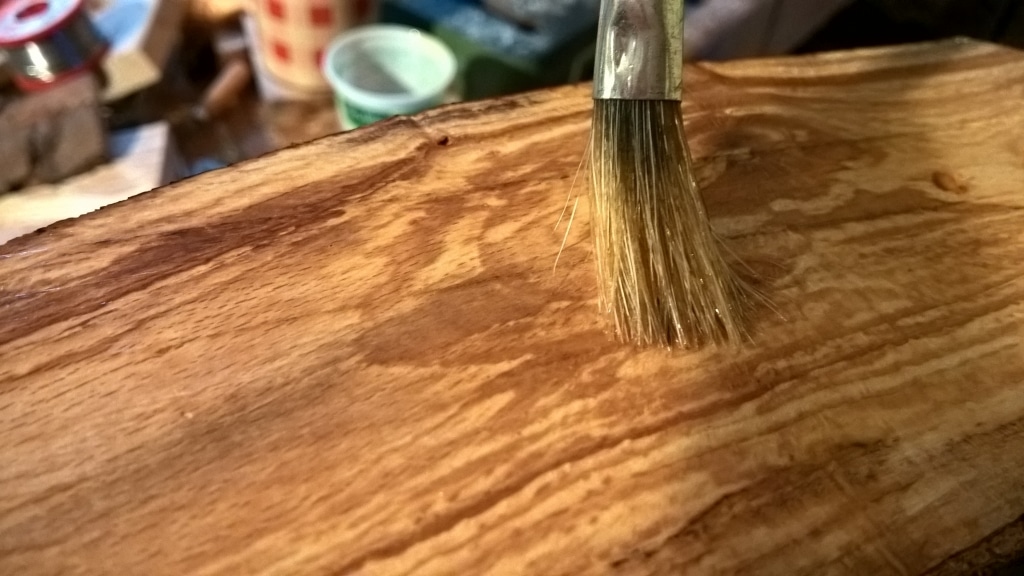
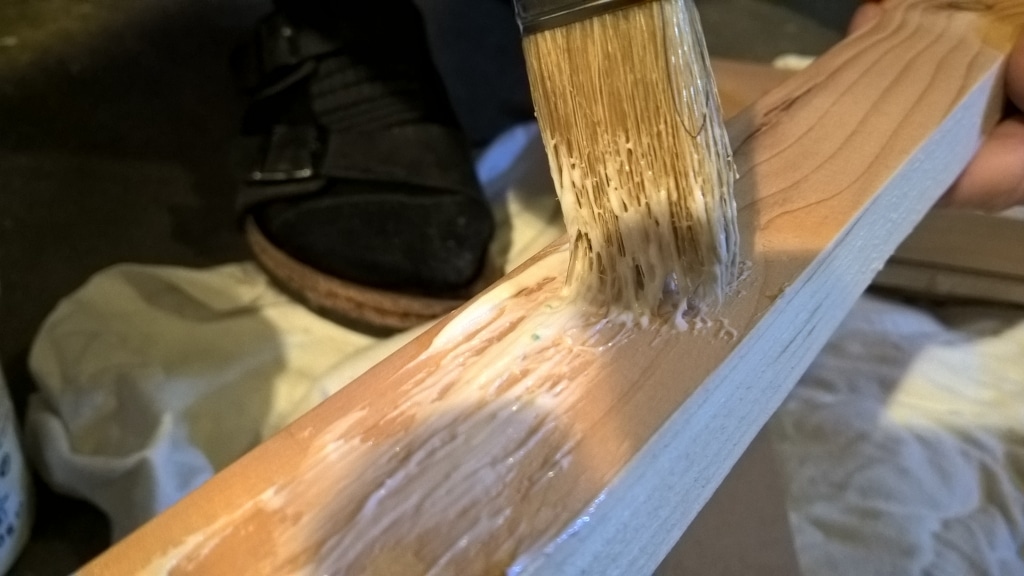
Oiling the cherry wood
I then oiled the cherry wood boards (all sides). Anyone who has ever oiled wood knows how beautiful the wood looks afterwards. This was also the case with the cherry wood for the front of the Magic Mirror.
Stabilization and suspension
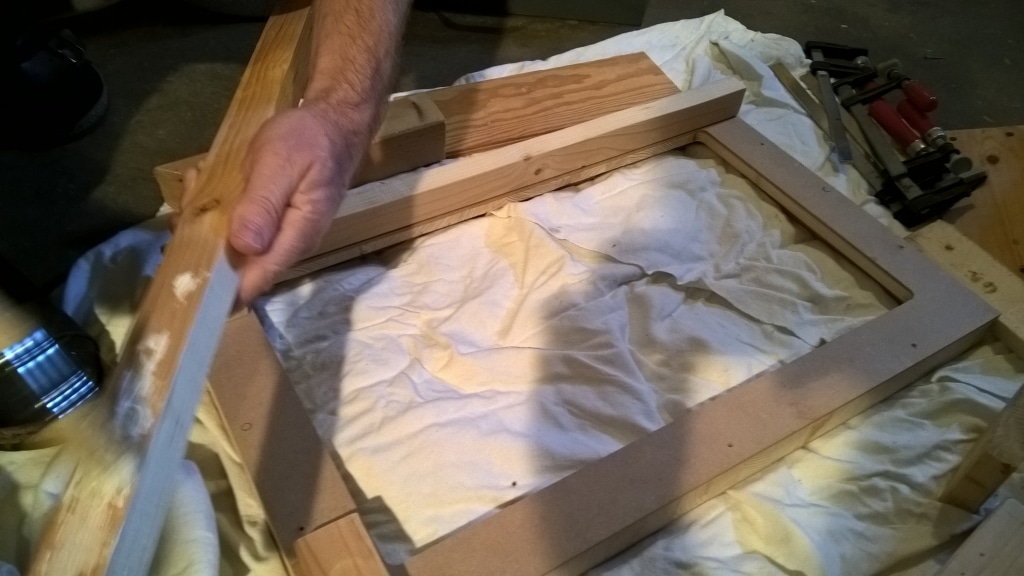
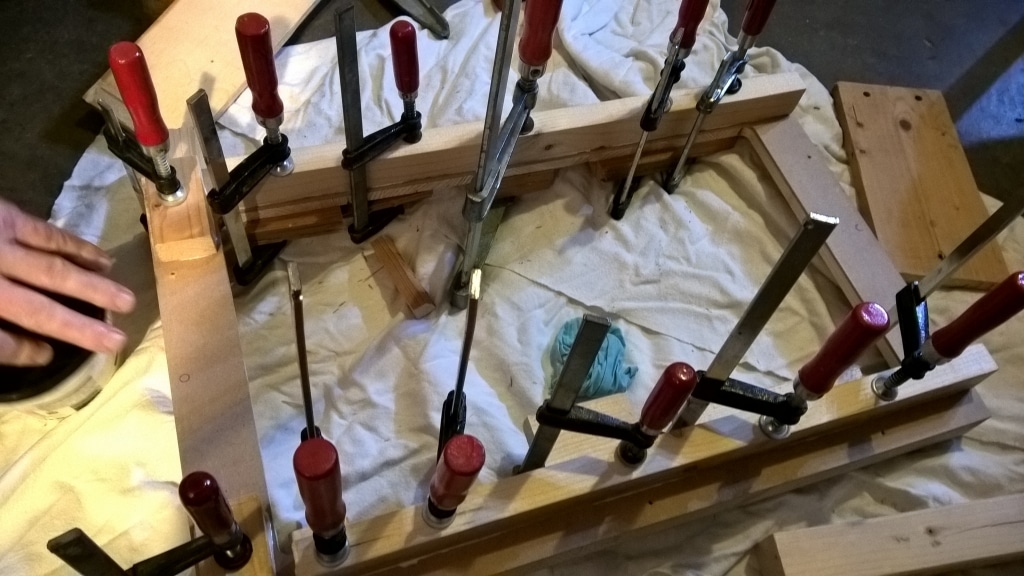
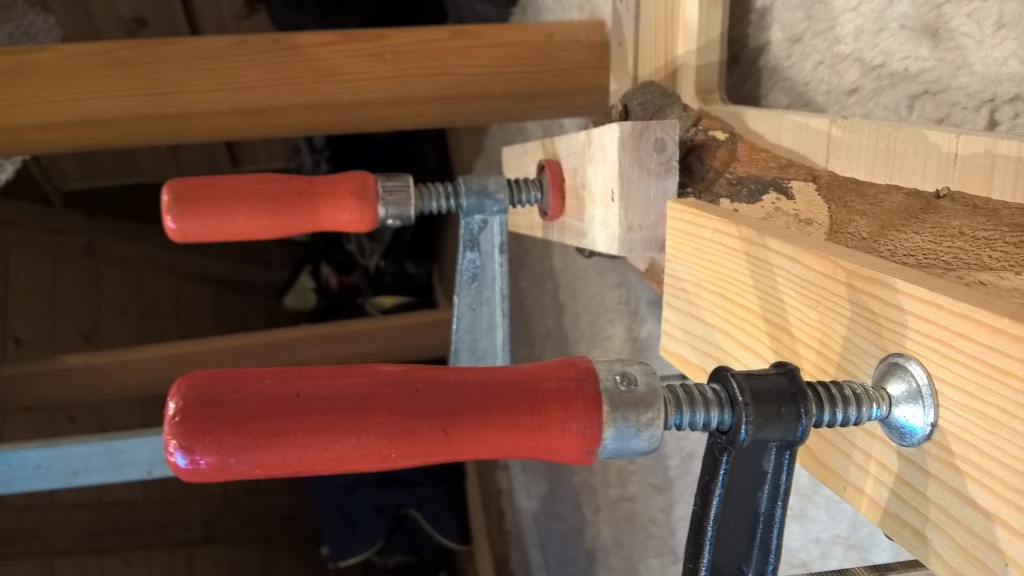
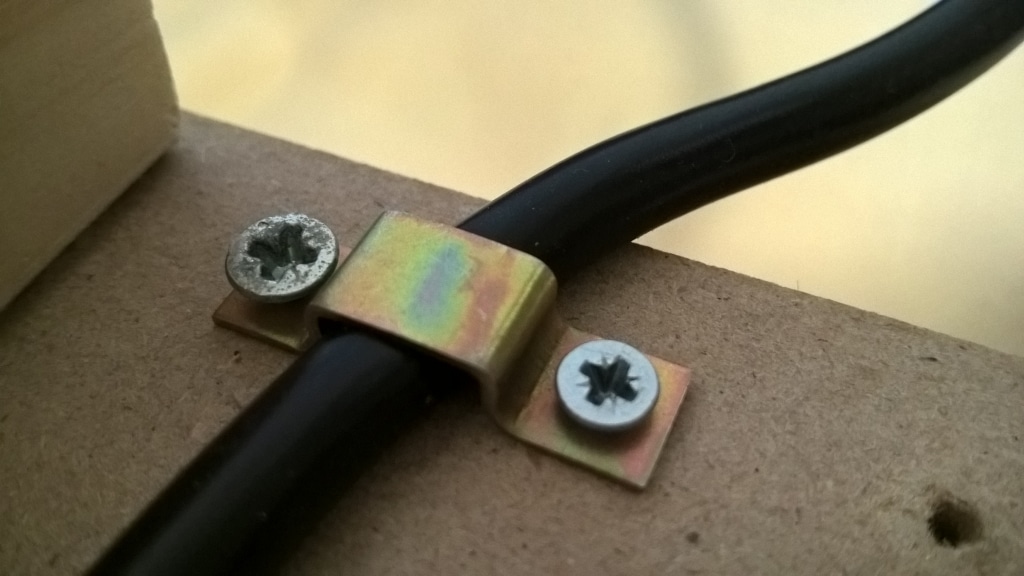
To stabilize the Magic Mirror and especially the insert frame, I used wood glue again and glued two wooden struts to the right and left side of the insert frame. This allows the warm air - produced by the monitor and the other hardware - to escape from the bottom to the top. Another advantage is that when the Magic Mirror is hung up, the hardware behind the monitor does not touch the wall, but the wooden struts on the right and left.
I installed two mounting options directly above the two wooden struts so that the Magic Mirror can be hung on the wall like a picture frame if required.
Inserting the spy mirror and monitor
Once the oil had been absorbed (after about 12 hours), I was able to place the monitor and the spy mirror in the insert frame and attach the cherry wood boards. The result is impressive.

Leave a Reply