Having already talked about the idea of a "Magic Mirror" in the previous article, in this article I will introduce you to the concept and the hardware components.
Display and display
Monitor
If you claim to have a high quality Magic Mirror to build, the Monitor plays a decisive role. After all, he is largely responsible for the depth of the Magic Mirror. Based on the experience of other hobbyists, I decided relatively quickly in favor of the iiyama ProLite E2481HS-B1 and bought it in very good condition for 115 euros on eBay classifieds. I think that 24 inch diagonal a very suitable size are for a mirror.
Selection criteria of the monitor
The Advantages of this monitor are obvious:
- Pricing the monitor for this project is located in a very appropriate framework.
- The Brightness and contrast are comparatively high, so that we later obtain a usable image through the spy mirror.
- The panel of the monitor is quite thin.
- The Display control unitt sits in the center of the monitor and offers enough space to place other components around it.
- The Connections of the monitor are located on the side of the display control unit, which significantly reduces the depth of the monitor.
Spy mirror
I received the previously mentioned spy mirror from MySpiegel.de and I am completely satisfied with it. It has a Thickness of 0.8 centimeters and these ratios have already proven themselves in other projects. Including shipping, I have good 70,- Euro paid. Other hobbyists have visited local dealers and found a lower price. So it may be worth looking around the corner.
As I need a high quality standards was clear to me right from the start: Glass with self-applied film is out of the question! I've seen mediocre results too often and I'm by no means convinced.
Frame
Material
As previously mentioned, I am fully committed to Cherry wood for the front of the Magic Mirror. Cherry wood is extremely appealing and especially in combination with a mirror it looks fantastic. The front section - i.e. what is visible to the user - will be made of the aforementioned cherry wood. However, the insert frame behind it for the monitor (and the other components behind the cherry wood façade) will be made of cheap(er) wood. The user will not be able to see this.
Insert frame
The insert frame for the monitor (and the other hardware components) can be made of a cheap(er) wood; the user does not see this and it only serves to hold the components. My concept is for the cherry wood to be mounted on the insert frame.
Hardware
Components
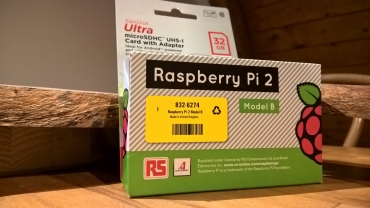
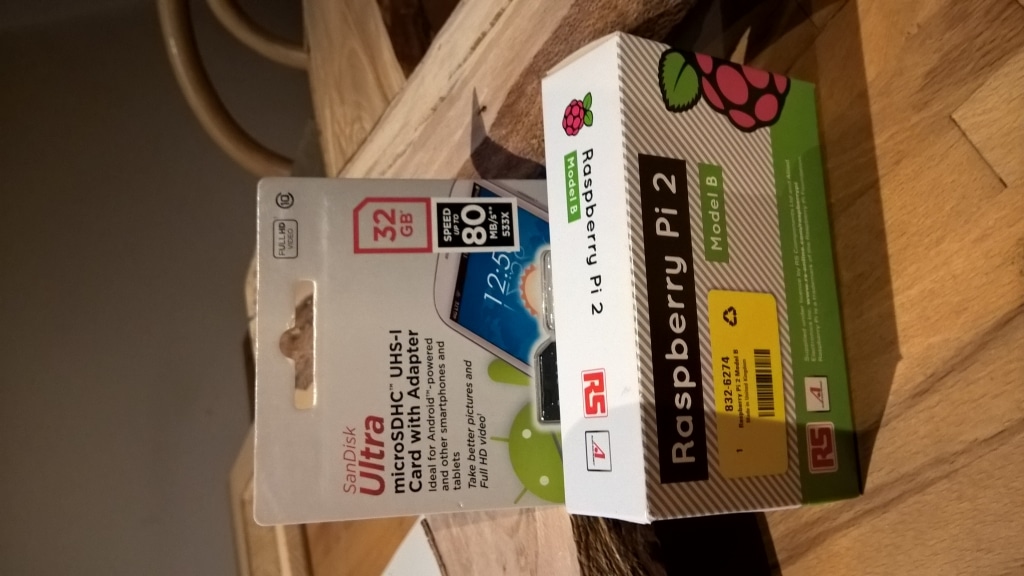
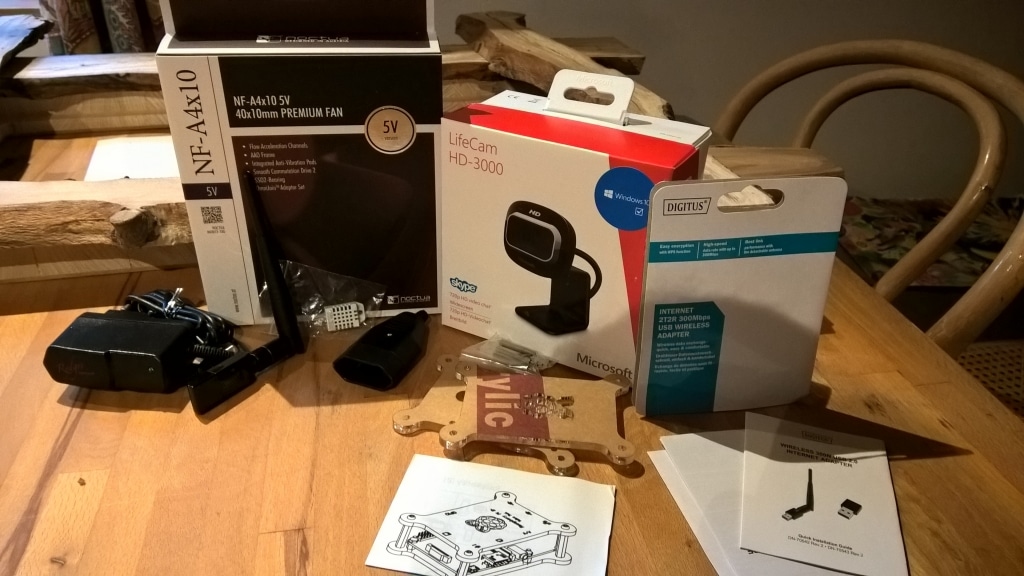
In addition to the obligatory Raspberry Pi 2 - kindly provided by Microsoft - and iiyama ProLite E2481HS-B1 I have decided on the following hardware components:
- Rydges SpeedPower power supply 2,500 mAh for the Raspberry Pi 2
- Open housing for the Raspberry Pi 2 if possible
- Noctua NF-A4 x 10 5V fan
- Assmann Digitus Wireless 300N Adapter for W-LAN
- DHT22 sensor (temperature, humidity)
- Microsoft LifeCam HD-3000 for facial recognition
- Euro coupling for the power supply
- 64 gigabyte memory card for Windows 10 IoT Core and the app
- Short HDMI cable (angled)
Basically, fans, housings, sensors and adapters can be replaced as desired. As my project with Windows 10 IoT Core will run, I have the official Hardware compatibility list used.
Price
All in all, the listed components including monitor and Raspberry Pi 2 can be purchased for - depending on quality and taste - 280 to 300 Euro purchase. You may also need to add a few more cables, the wood, screws and the necessary tools for assembly. For the possibilities that are open to you later with this designer piece, I think this is a perfectly acceptable price.
If you can't yet assign all the components to their function - don't worry, you'll find out in the following articles!

Leave a Reply