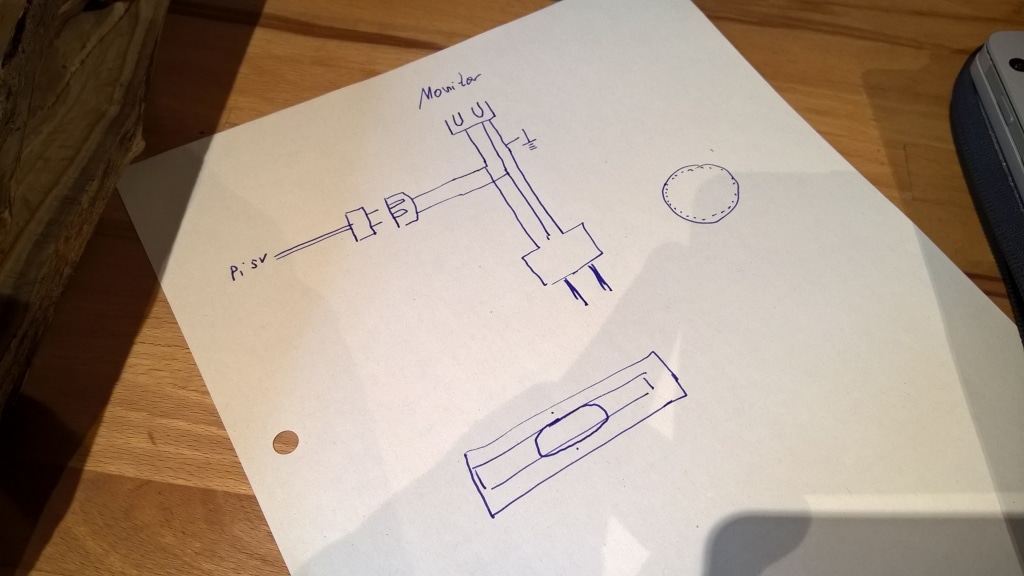
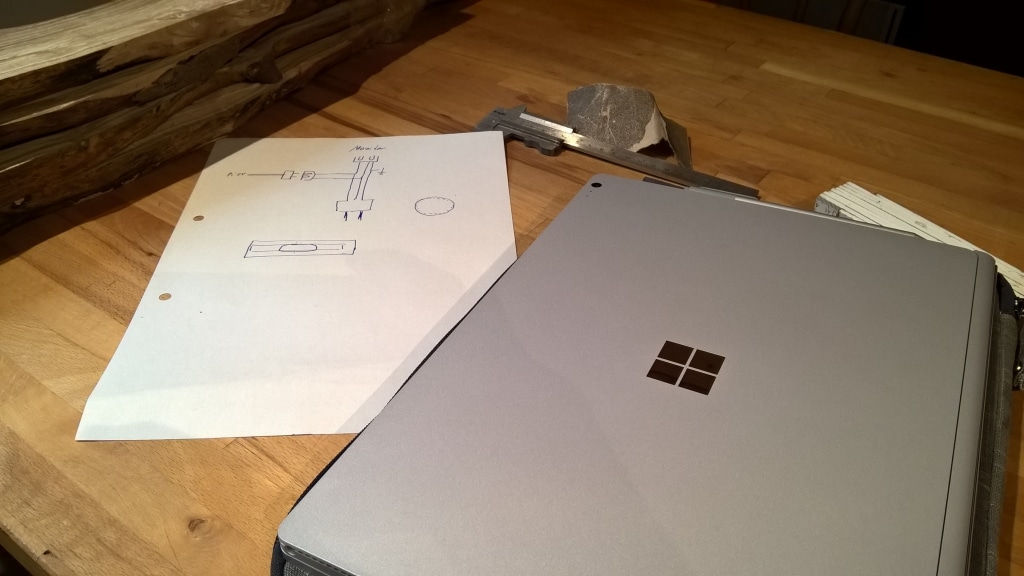
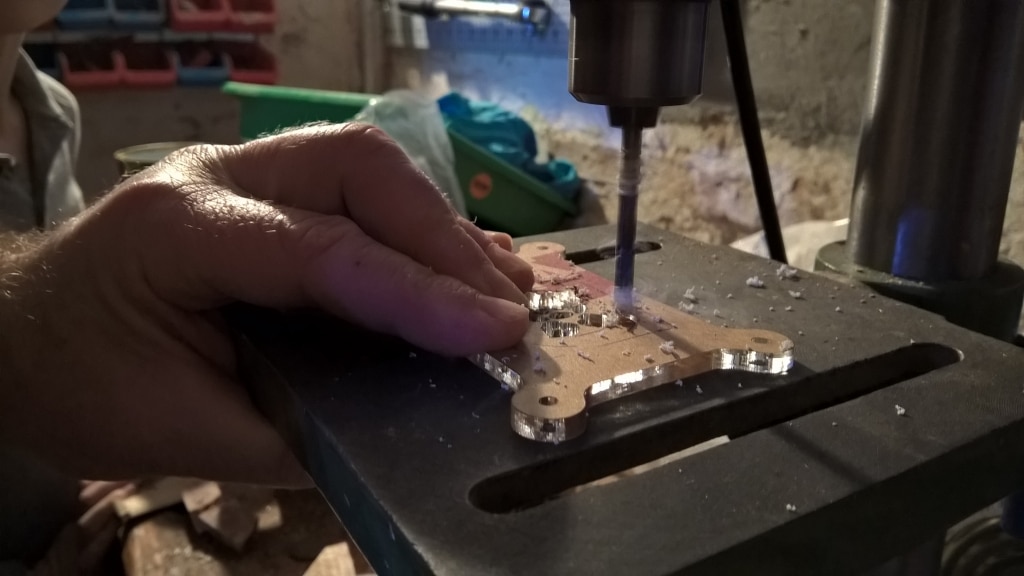
Once the frame is finished, the next step is to design the cabling as elegantly as possible. My primary goal is for the mirror to manage with just one power cable.
Tips, tricks and hints
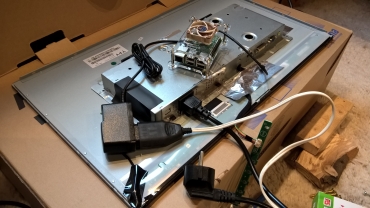
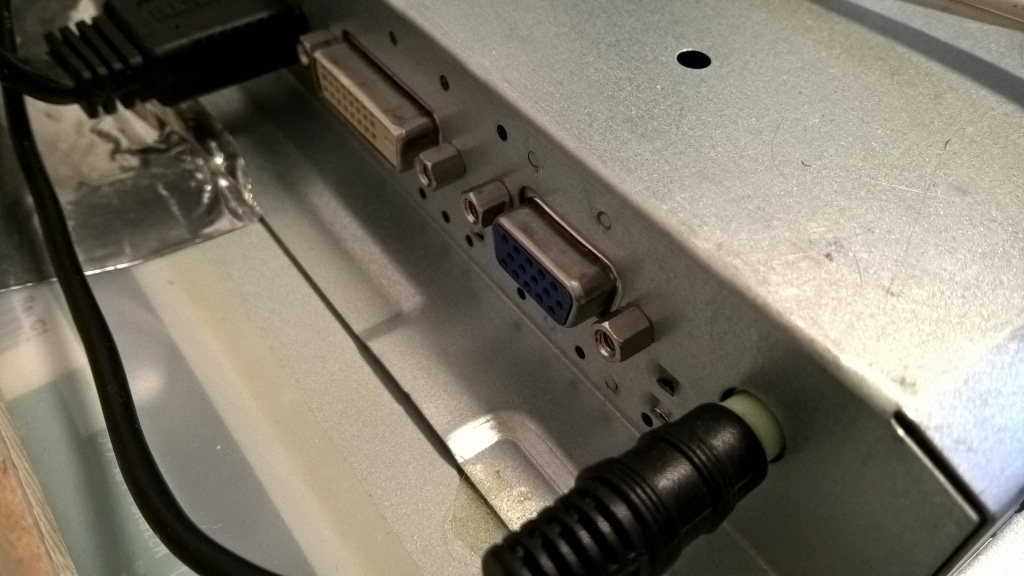
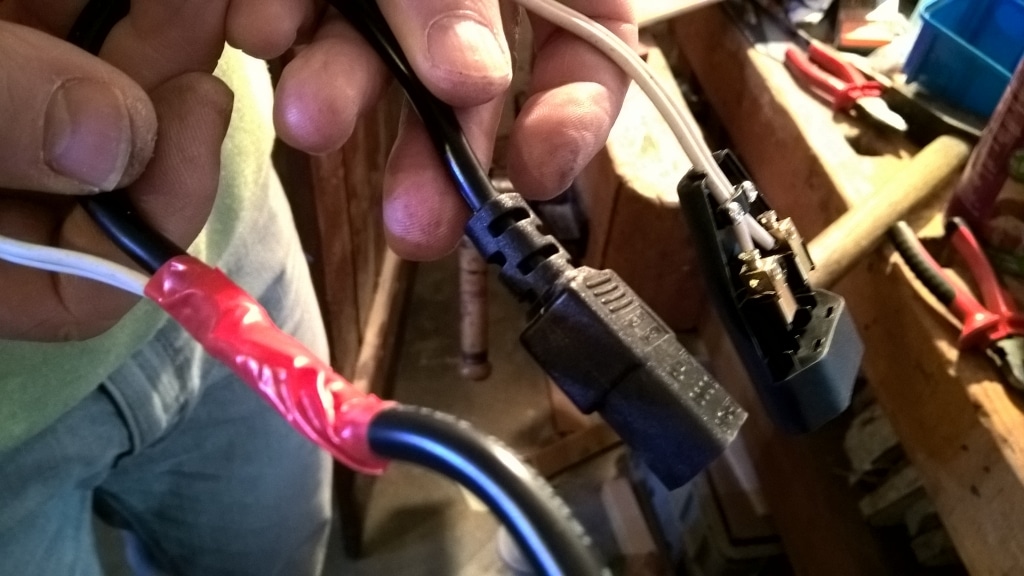
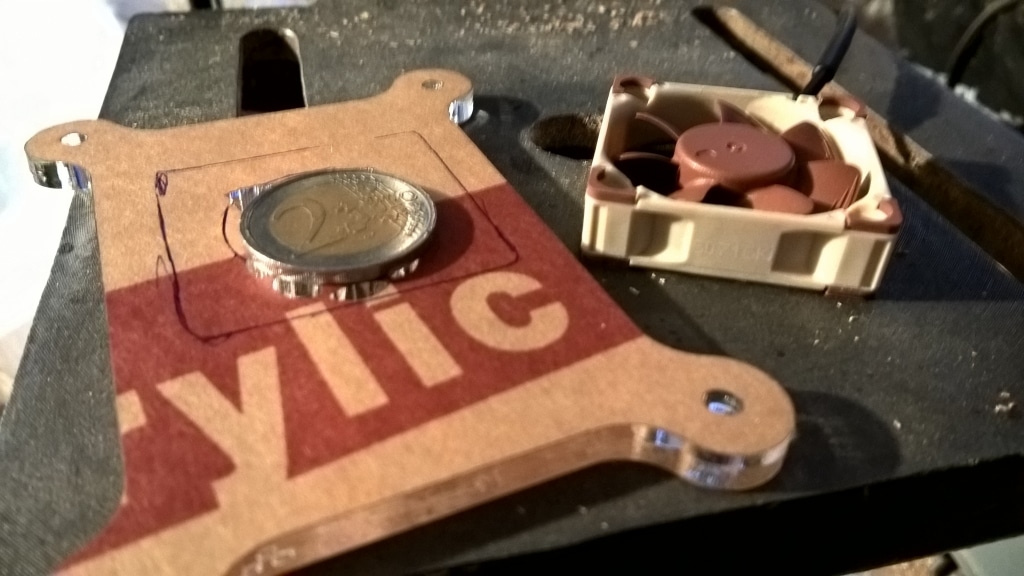
The second article of the series The hardware listed may be carefully installed and wired in harmony with the frame. My primary goal is for the Magic Mirror to look very elegant. I have therefore considered that Only one power cable should come from it. With a bit of soldering, this was done and the Raspberry Pi's power supply could be fed with the monitor's power cable. I used a Euro coupling for this.
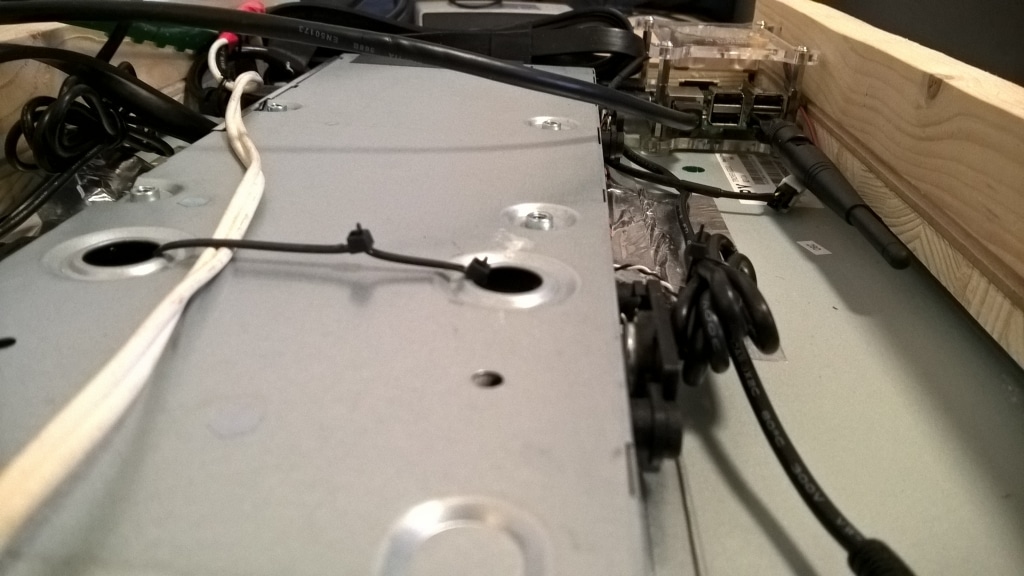
Two cables lead from the Raspberry Pi to the monitor - one is a AUX cable for sound transmission and a HDMI cable for the image signal. Although it is basically possible to transmit the sound via an HDMI cable, this does not seem to work correctly for many users. I have therefore proactively opted for a separate cable.
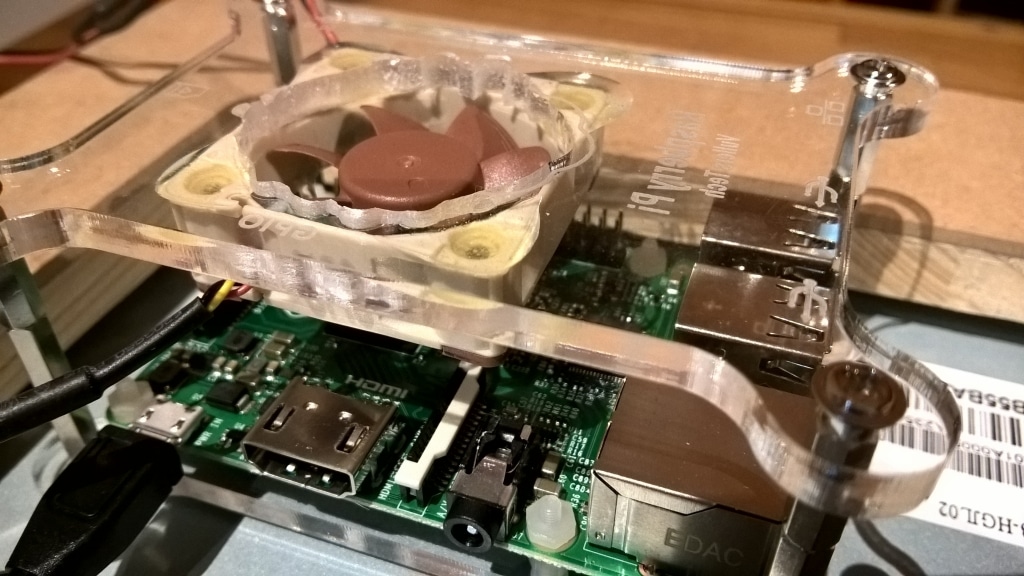
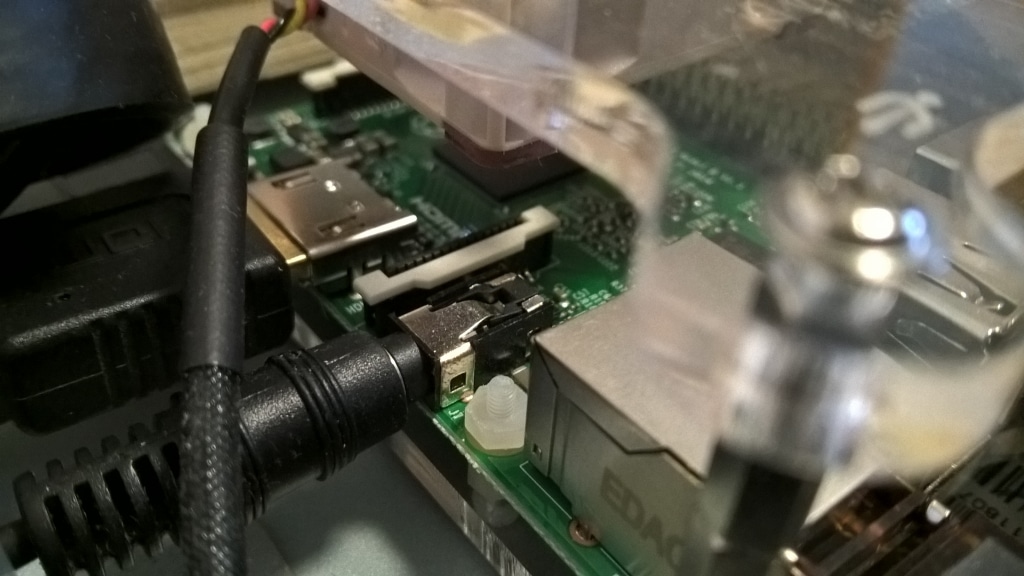
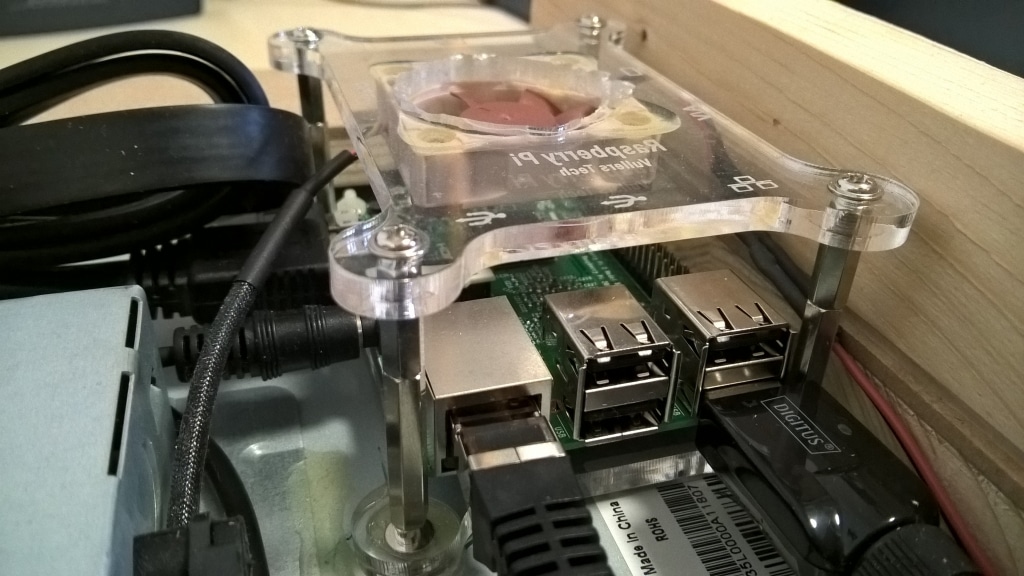
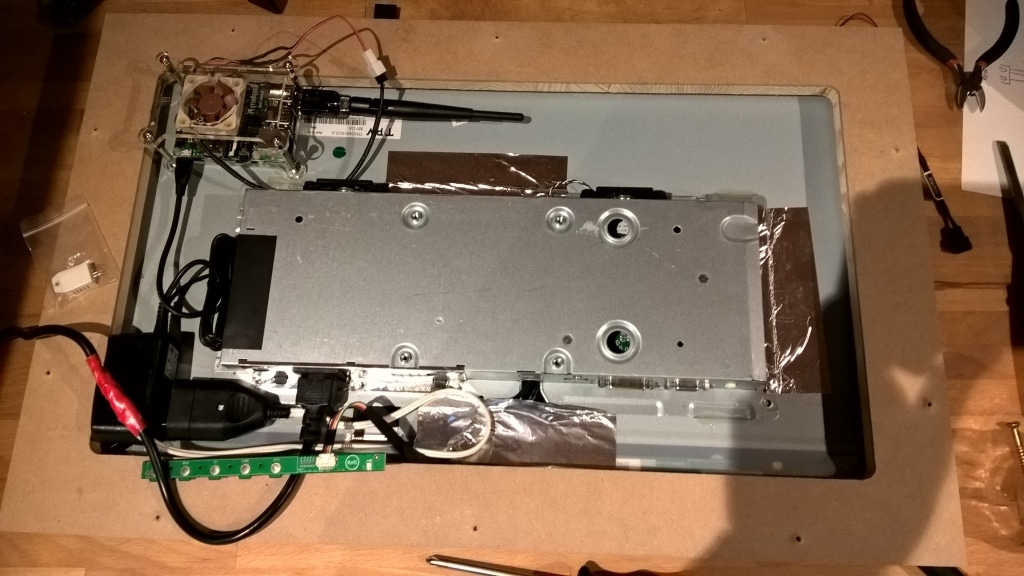
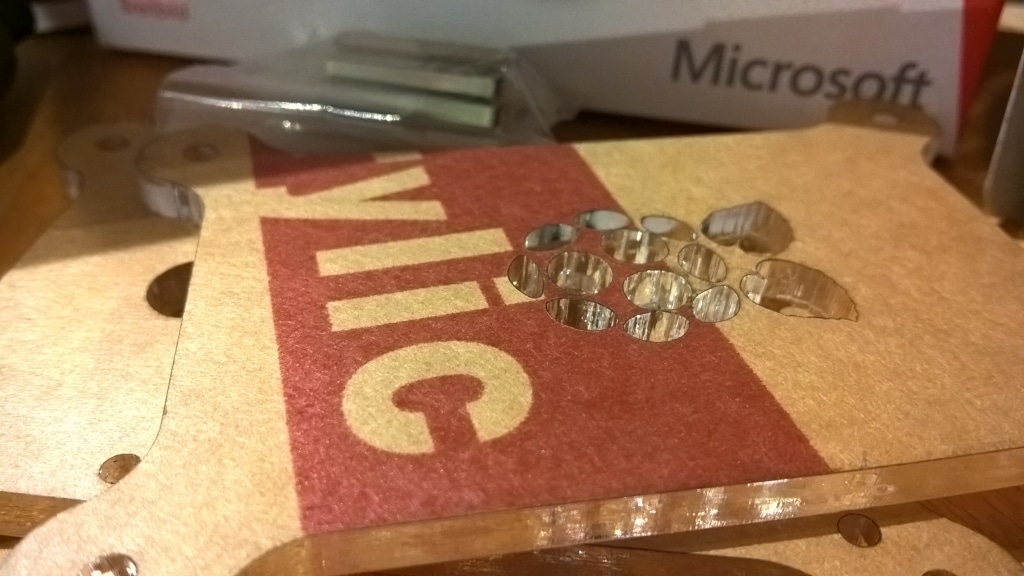
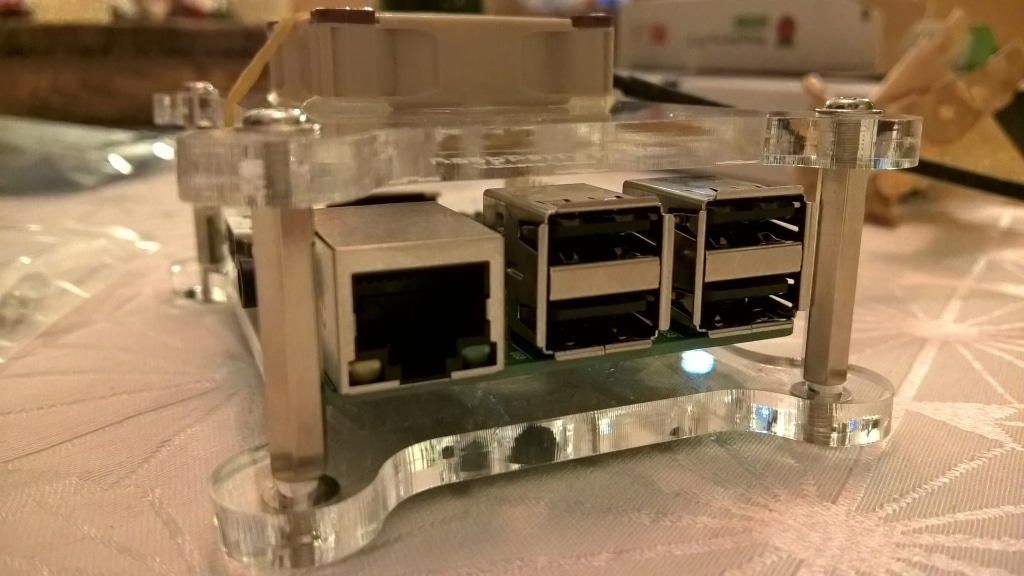
When wiring, it is essential to ensure that the Magic Mirror as flat as possible remains. The depth of the Magic Mirror should be limited by the housing of the Raspberry Pi (plus, if necessary, by the insert frame to ensure an air gap to the wall for the fan). Even more important is the correct alignment of the components: Place the Raspberry Pi so that you can use all connections effortlessly! Try it out, plug in the cables and then place it on the monitor. Bear in mind that you may have to plug the SD card (on the underside of the Raspberry Pi) into it later and, in the worst case, you may have to replace it once or twice.
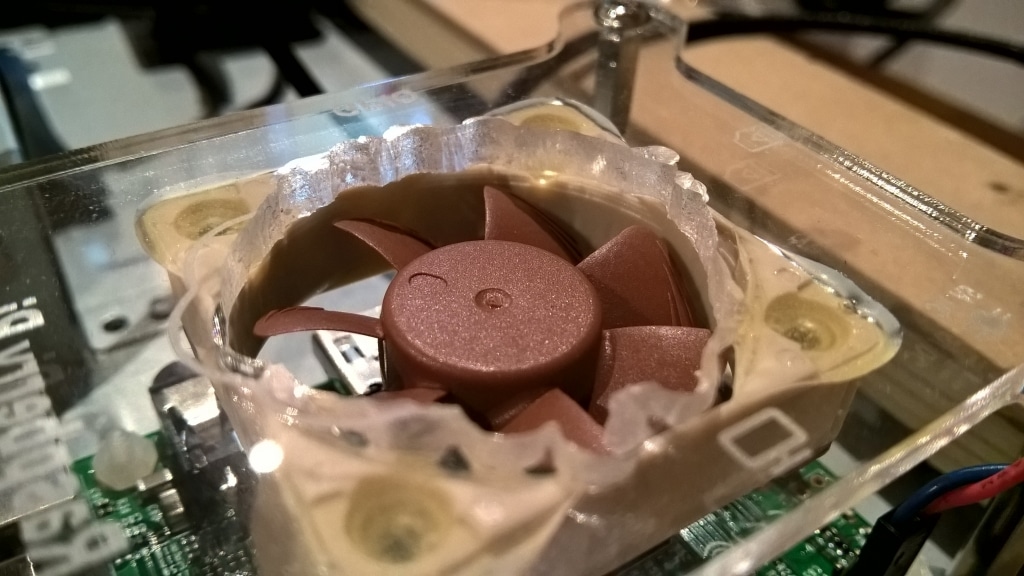
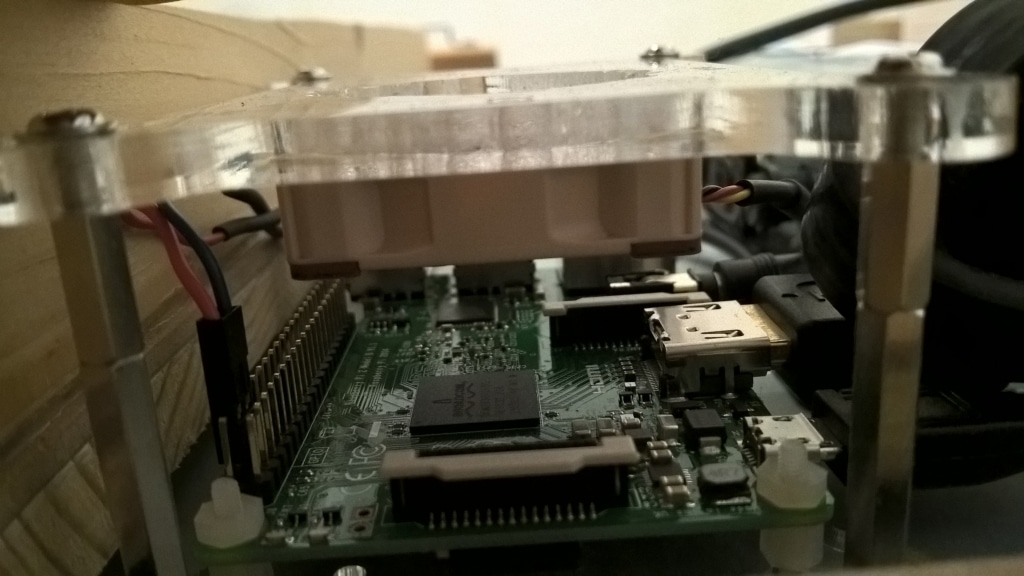
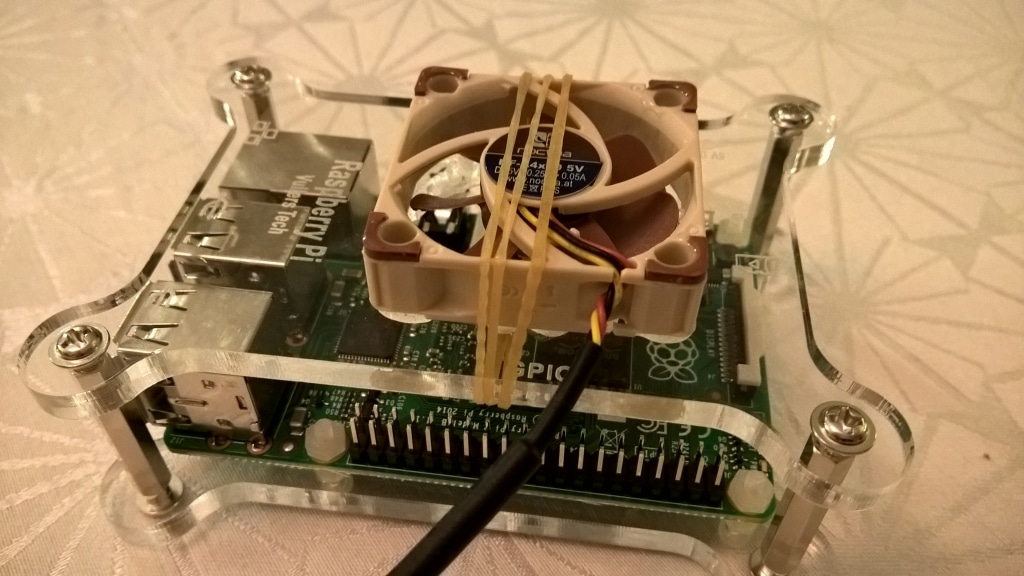
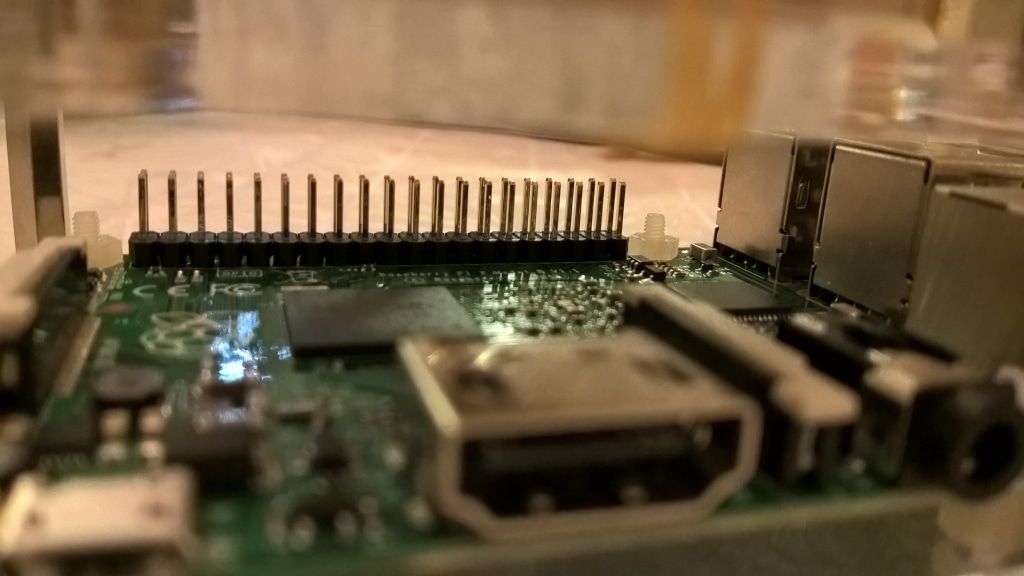
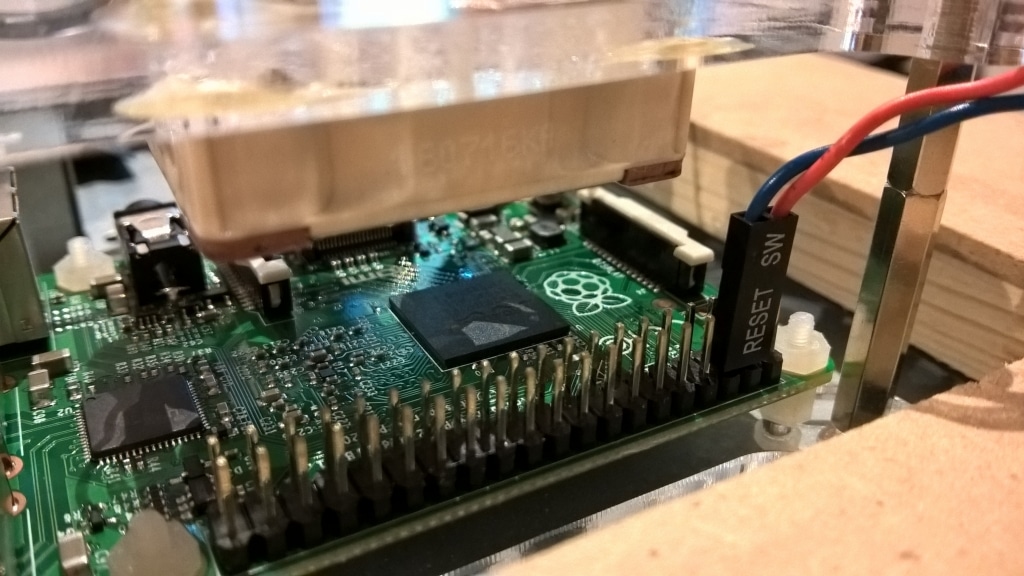
Also make sure that the (sensitive) GPIO ports for the sensors enough space have. I had to raise the top plate of my housing for the Raspberry Pi, which is fitted with the fan, a little higher using additional screws. Only a test showed that there wouldn't be enough space otherwise. At the same time, I turned the top plate around so that the fan now blows onto the Raspberry Pi and is mounted "inside" the housing.
You'll be smarter afterwards
Despite careful consideration, I would like to share two important things with you:
- MicroSD cards are not only inexpensive these days, they also have a large storage capacity. Nevertheless, it happens regularly that a MicroSD card fails. Therefore Please allow enough space for your hands/fingers if you need to change the MicroSD card! Whether it is a replacement due to a defect or just the installation of a new operating system/image - experience has shown that sufficient space is easy on the nerves.
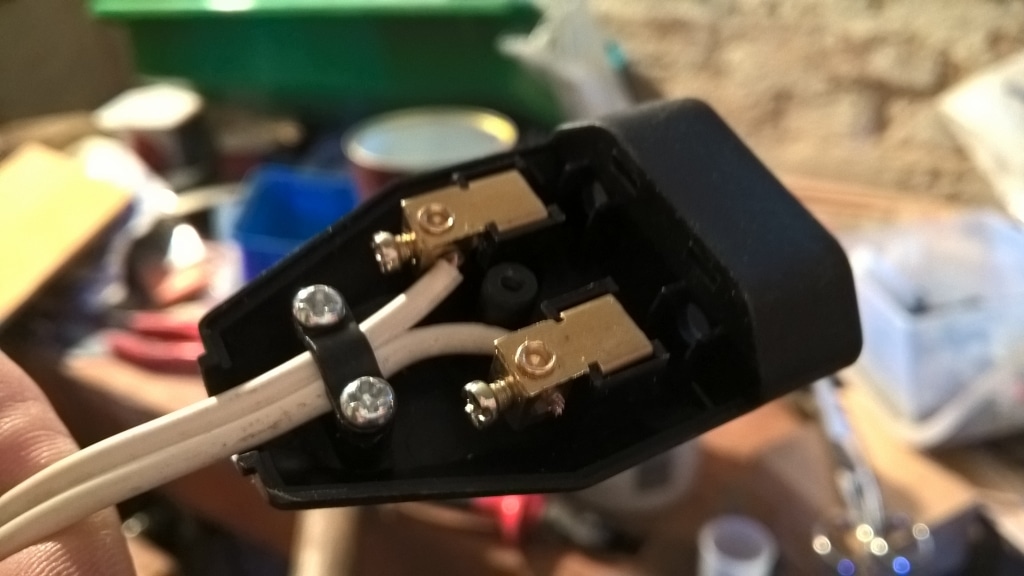
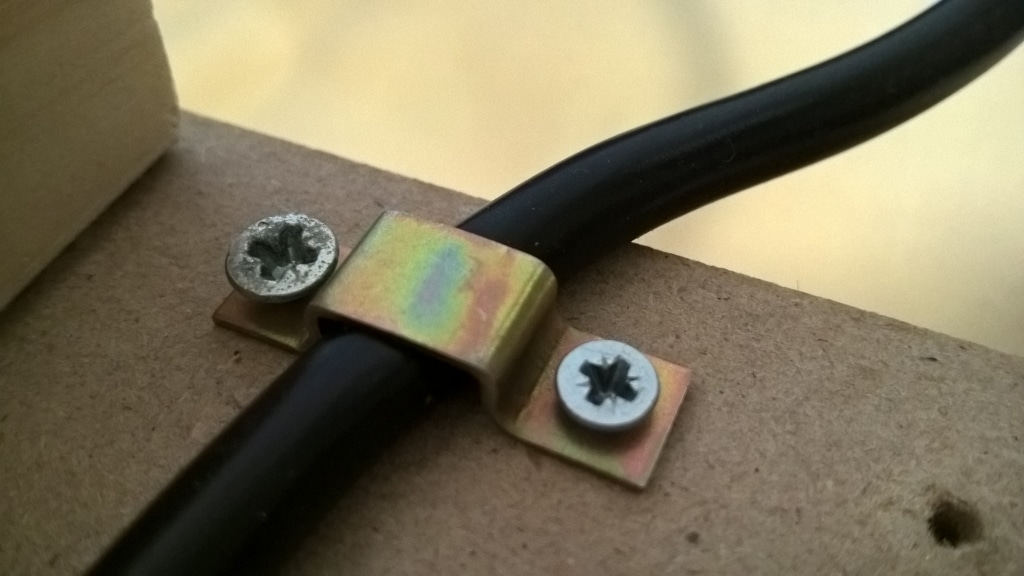
- The fixed Power cable should not have a standard length! For the future, I recommend attaching a plug for the power cable to the Magic Mirror so that you can then attach a power cable in the length, color and shape of your choice. If you move (you or the Magic Mirror), you won't have any problems if the cable is too short or the wrong color.

Leave a Reply